
Epoxy Table Workstation Thingy
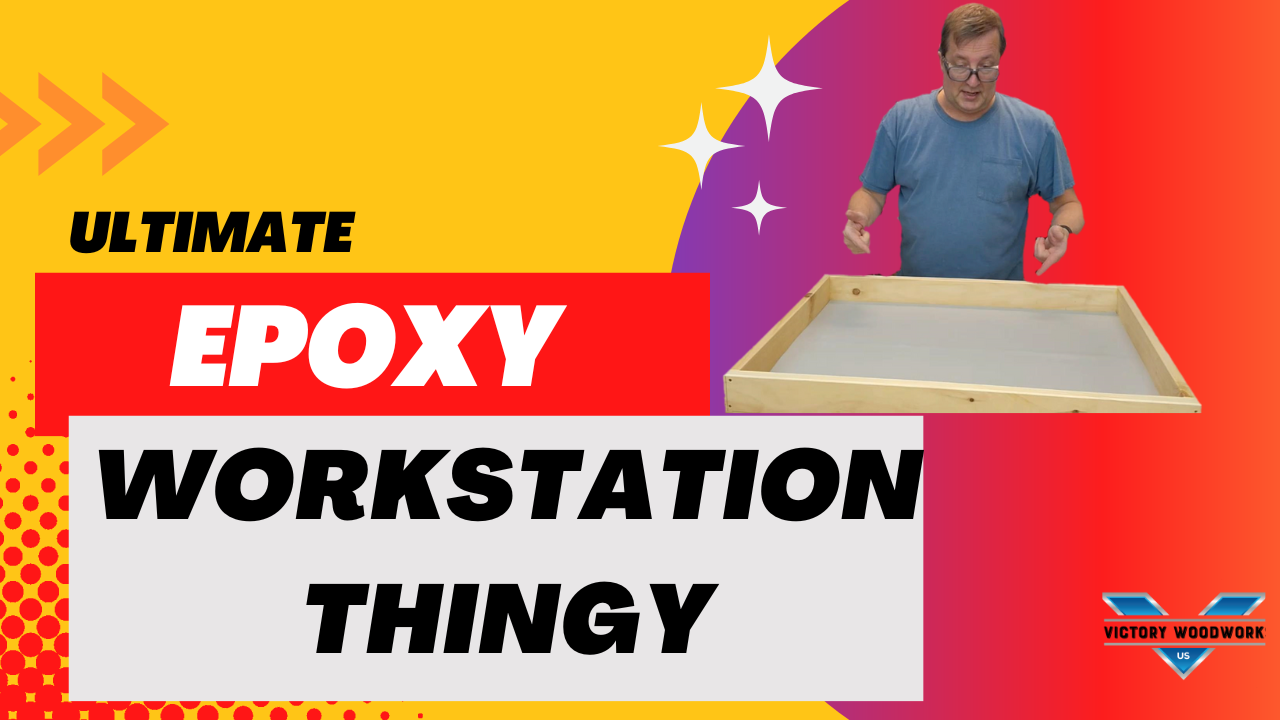
S23E04 Epoxy Workstation Thingy
Today, we're going to be talking about how to build your dream DIY epoxy workstation thingy, step-by-step.
First off, let's talk about why you might want to build an epoxy workstation thingy. Epoxy is a popular material used in many DIY projects, such as creating resin art, making jewelry, and even repairing items. However, it can be messy and difficult to work with if you don't have a dedicated workspace.
That's where an epoxy workstation comes in. By creating a specific area for your epoxy projects, you can contain any mess and make the process much easier and more enjoyable.
So, let's get started!
Step 1: Choose a workspace
The first step is to choose a workspace for your epoxy workstation. This could be a spare room, a garage, or even a corner of your living space. Just make sure it's an area that can be easily cleaned and is well-ventilated.
Step 2: Prepare the space
Next, you'll want to prepare the space. This means cleaning the area thoroughly, making any necessary repairs, and ensuring there's proper ventilation. You may also want to consider adding a tarp or drop cloth to protect your flooring.
Step 3: Build your workstation thingy (check out the video)
Now it's time to build your workstation thingy. You can use a variety of materials, such as a sturdy table or even a countertop. However, make sure it's level and can support the weight of your projects.
Adding a backsplash to your workstation can help contain any spills and protect your area. You can use a variety of materials, just make sure it's easy to clean.
Step 5: Install lighting
Good lighting is essential for any DIY project. Install overhead lighting or add a lamp to your workstation to ensure you have adequate visibility.